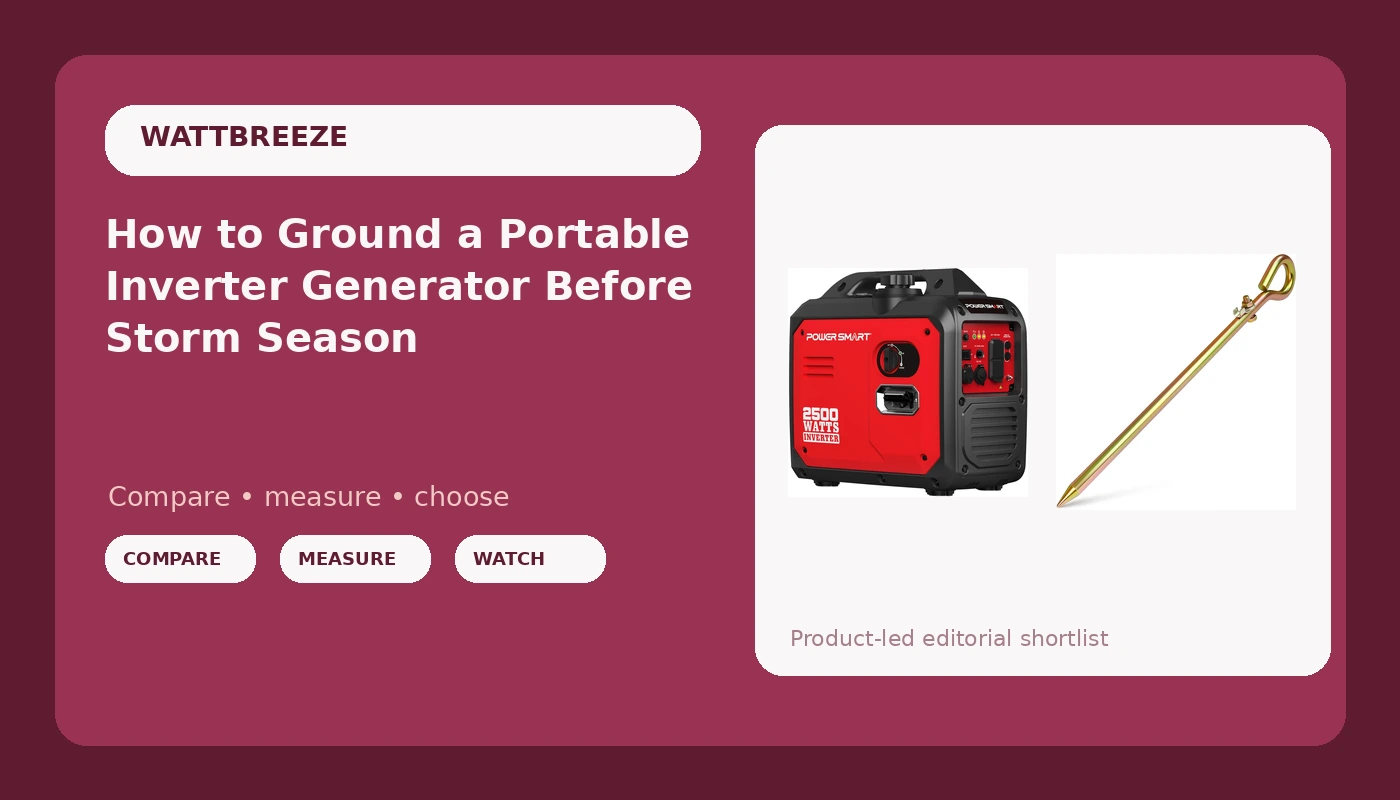
Nine days without power after Helene taught my street things nobody wanted to learn. I watched two grown men argue over a fifty-foot cord, and I watched a thirty-year-old contractor generator rattle windows at 2 a.m. because nobody had ever explained what a decibel reading at 25 feet actually means. But the thing almost nobody thinks about is smaller and cheaper than all of that: the ground.
Grounding a portable inverter generator is the step most owners skip entirely, mostly because the manual mentions it in one line and the internet argues about it in four hundred. So here is the plain version. For most campers and tailgaters, your generator frame is already your ground reference and you do not need a rod. For anyone tying a generator into a house, a job site, or a piece of equipment that expects an earth reference, you do, and it costs less than a jug of ethanol-free fuel to do it right.
I'm Gus. I ran a small engine shop in Asheville for 22 years, and since the storm I have load-tested more than 40 generators with a load bank, a decibel meter, and a paper logbook.
Why you should trust me
Twenty-two years of carburetors, ignition coils, and customers who brought me a generator in a wheelbarrow because it "just quit." I keep a logbook on every unit I run: watts at the wall, dB(A) at 25 feet, hours per tank with my own fuel jug and my own stopwatch. I have never repeated a run-time number off a box. When I tell you a ground rod is optional for a campsite and required for a house connection, that is not a slogan. That is the code and the manual agreeing with each other, and I will show you where.
Also worth knowing: I still own the budget generator I tell people to think twice about, so I am not here to sell you the expensive answer.
How I picked these two
This is a two-item job, and I picked on function, not brand loyalty.
For the generator, I wanted the class where the grounding question actually comes up: a small inverter unit light enough to carry, quiet enough to run at a campsite without a neighbor complaint, and clean enough in output to charge a laptop or run a CPAP. That is the 2,000 to 2,500 watt inverter class, and it is where most people start.
For the rod, I wanted solid steel with a real driving point, not a copper-clad pipe that mushrooms the first time you hit a root. I also wanted something short enough to seat with a hand sledge in the clay and rock we have around here, because a rod you cannot drive is a rod you will not use.
What you need before you start
Grounding is not a project. It is a rod, a hammer, a clamp, a length of conductor, and fifteen minutes. But you need the right generator class and the right rod, or you are wasting both.
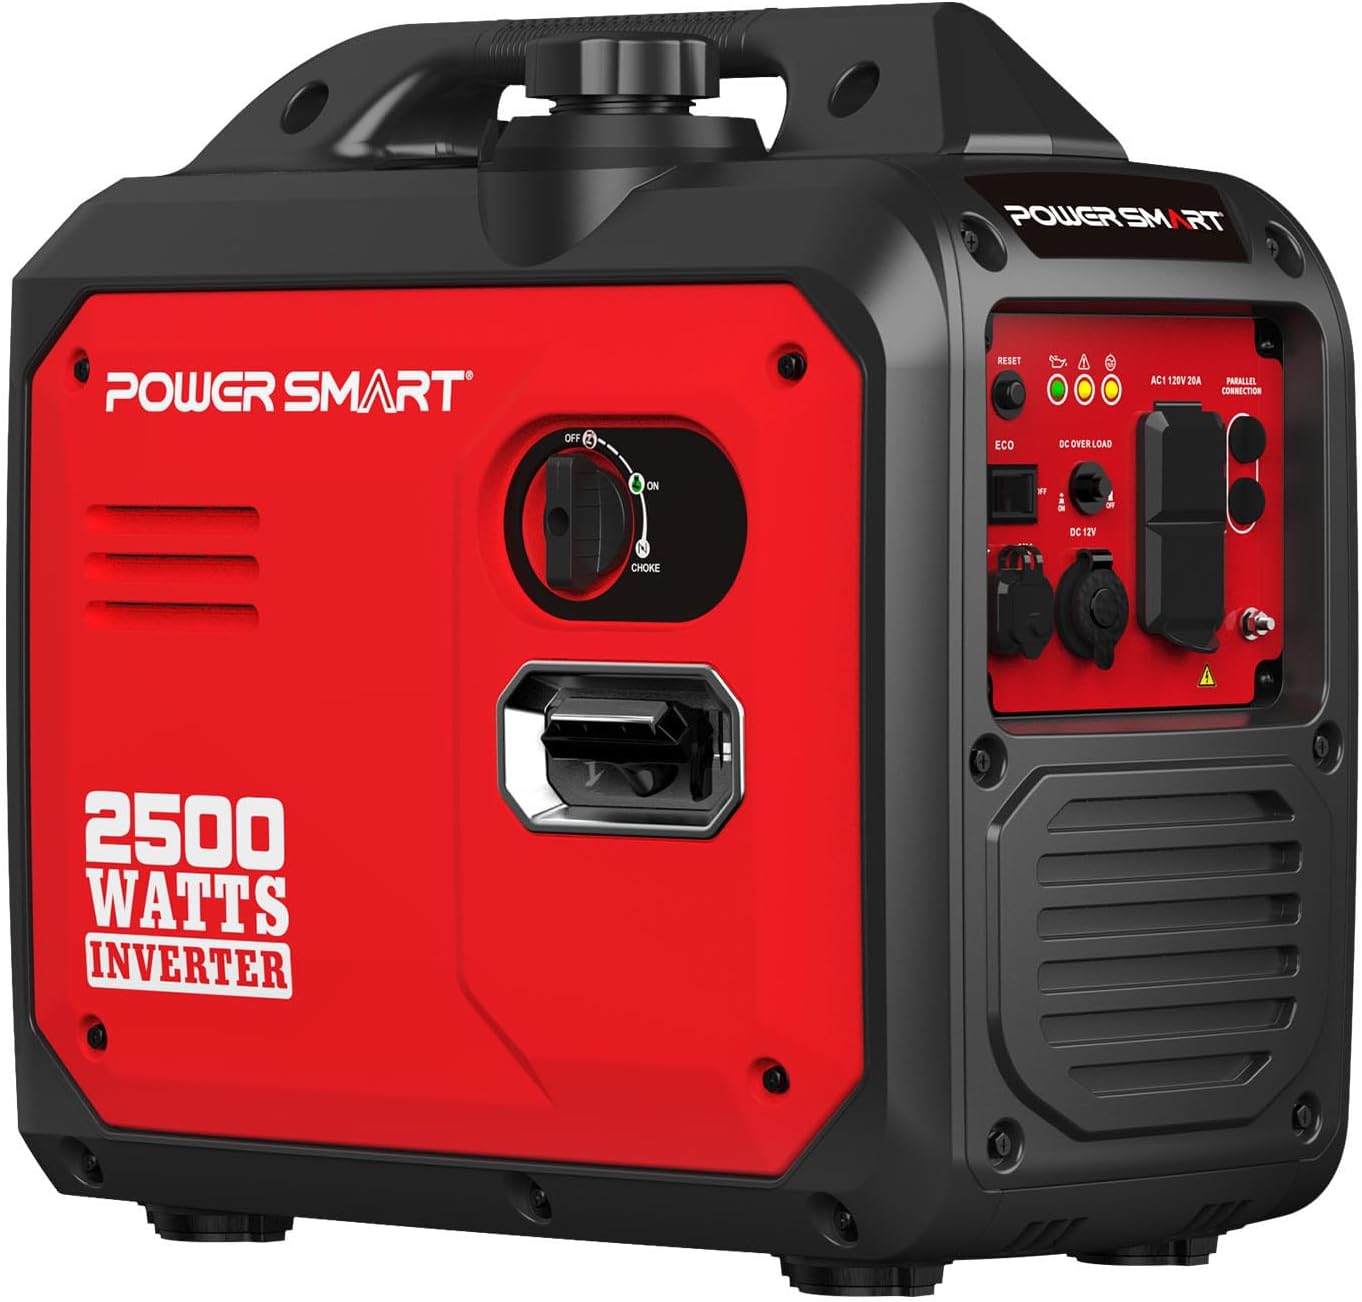
The generator: PowerSmart 2500 Watt Portable Inverter Generator for Camping
 Visit on Amazon →
Check current Amazon price. This is the class I would point a first-time camper at: 2,500 watts of inverter output, which is enough for a fridge surge if you are careful, a phone and laptop bank all weekend, a box fan, and a small coffee maker one at a time. Inverter means clean power, and clean power is the whole reason you are not buying a cheap conventional screamer that makes your electronics hum.
Two things to know before you buy. First, wattage numbers in this class are quoted inconsistently, so read the fine print and assume your real continuous load is lower than the big number. Second, and this is the one that matters for this article: check your manual for the words "neutral bonded" or "floating neutral." That single detail decides whether you need a ground rod at all, and it varies unit to unit even within one brand.
Flaws but not dealbreakers: Small inverter generators run out of steam fast if you stack loads. The fridge and the space heater at the same time is not a plan, it is a test of the reset button.
Campers, tailgaters, and anyone who wants quiet power at a deer camp or a job site with neighbors will be happy here.
The ground rod: Portable Grounding Rod, 17.5" Solid Steel Ground Rod for Electric Fence, Earthing, Antenna, Portable Generators, Solar Panel, Ham Radio & Pool Equipment
 Visit on Amazon →
Check current Amazon price. It is a solid steel rod with a pointed end and a top you can hit, sized to seat in a couple of minutes with a hand sledge or even a heavy hammer in soft ground. For portable work, temporary earthing, a ham radio counterpoise, an electric fence, or an antenna mast, that is exactly what you want.
Here is the honest caveat, and it is the one nobody selling you a rod says out loud: a 17.5-inch rod is a temporary earthing point, not a code-compliant grounding electrode for a building. If you connect a generator to your house panel through a transfer switch or an inlet box, the electrician doing that work will drive an 8-foot electrode, and you should let them. This rod is for the portable side of the job.
Flaws but not dealbreakers: Short rods in dry, rocky soil will pull out with a boot if you do not seat them deep. If the ground is hard, soak the spot an hour ahead.
Anyone grounding a portable generator, a fence charger, or a radio setup temporarily will get their money's worth.
The actual grounding workflow
Here is the process, in order. None of it requires an electrician if you are running extension cords. All of it does if you are touching house wiring.
Step one: Read the manual's neutral language. Find out whether your generator is neutral bonded or floating. This is the whole ballgame. A bonded neutral means the frame and the neutral are already tied together inside the unit, and the frame is your ground reference. A floating neutral means they are not, and that changes what you are trying to accomplish.
Step two: Decide whether you need a rod at all. If you are running cord-and-plug equipment off the generator's own receptacles and nothing is tied into a building, NEC 250.34(A) does not require a grounding electrode. The frame serves as the ground for whatever is plugged into it. That is the campsite and tailgate answer, and it is why the guy next to you at the racetrack has never owned a ground rod.
Step three: If the manual says to ground it, ground it. Some manufacturers instruct you to drive a rod regardless, and some job sites and inspectors require it. When the manual and the code disagree, the manual wins for warranty purposes and the inspector wins for legal purposes. Follow whichever is stricter.
Step four: Pick a spot. Within reach of your cable, away from where kids and dogs run, and not directly over your septic field or a buried utility. Call 811 before you drive anything into the ground deeper than a few inches if you do not know what is under the lawn.
Step five: Drive the rod. Seat the point, then drive it straight down with steady taps, not wild swings. A rod driven at an angle holds worse and looks like a mistake. Leave a couple of inches above grade so you can clamp to it and pull it later.
Step six: Clamp and connect. Use a proper grounding clamp, not a hose clamp and not a wrap of bare wire. Connect your conductor to the rod and to the generator's grounding lug, which is the small terminal on the frame usually marked with the ground symbol. Bare copper or green insulated, sized for the run, and short as practical.
Step seven: Check the connection by hand. Grab the rod and the clamp and try to move them. If the clamp slides, it is not bonded, and a loose ground is worse than no ground because it gives you false confidence.
Step eight: Test before you load it. Start the generator, let it settle, then plug in one small load and confirm everything behaves. Then add the real loads one at a time. This is the same discipline I use on the load bank: one change at a time, watch the meter, log the result.
One warning that belongs here: a ground rod does not protect you from carbon monoxide, and it does not make it safe to run a generator in a garage. Keep every unit well away from the house, away from windows and vents, CO sensor or not.
When you do not need a ground rod
Direct answers, because this is where the internet gets loud.
You do not need a rod to charge a phone, run a fan, or power a fridge from the generator's own outlets at a campsite. You do not need a rod for a tailgate. You do not need a rod for a job site where the tools plug straight into the generator and no building wiring is involved, though your site rules may say otherwise.
You do need grounding, and an electrician, when the generator connects to a house panel, a transfer switch, or an inlet box. You need it when a manufacturer's manual requires it. You need it when the equipment you are powering expects an earth reference, like a ham radio station or an antenna mast.
And a rod by itself does not bond the neutral. If your unit has a floating neutral and your equipment needs a bonded one, a rod will not do that job. A bonding plug does, and on generators with GFCI outlets, a bonding plug can trip the GFCI, which is a whole separate afternoon. That is an electrician conversation, not a YouTube one.
What I skipped and why
I skipped the copper-clad rods. They are fine for a permanent installation where an electrician is driving a long electrode, and they are the wrong tool for a portable kit, because the cladding dents and the rod bends in rocky soil.
I skipped the long, cheap jumper cables people use as grounding conductors. The clamps do not hold, the wire is undersized for the run, and the whole thing lives in a bucket until you need it and then it is corroded.
I skipped the plug-in gadgets that claim to solve every neutral problem in one step. Some of them are legitimate for a specific job, and none of them are a substitute for reading your manual and knowing whether your neutral is bonded.
I also skipped recommending a big generator for this job. A 2,500-watt inverter is enough to learn on, enough to keep a fridge and a few lights alive through a short outage, and small enough that you will actually maintain it. My rule after nine days in the dark: buy the generator you can start on the second pull, cold, in the rain.
What this all costs
The rod is the cheapest safety item in your kit. Check current Amazon price on the generator and check current Amazon price on the rod, and remember that the cable and clamp are the parts people cheap out on and the parts that fail.
The math that matters is not the purchase price. It is the cost of one mistake. A loose clamp, a reversed bonding plug, or a generator run in a garage costs more than every accessory in this article combined, and the rod is the least expensive piece of the whole setup.
Do the fifteen minutes. Read the manual line about neutral bonding, decide whether you are a campsite or a house connection, and seat the rod if you need it. Then write down what you did, the way I log every run, so the next time the grid goes down you are not the guy in the dark arguing about a cord.