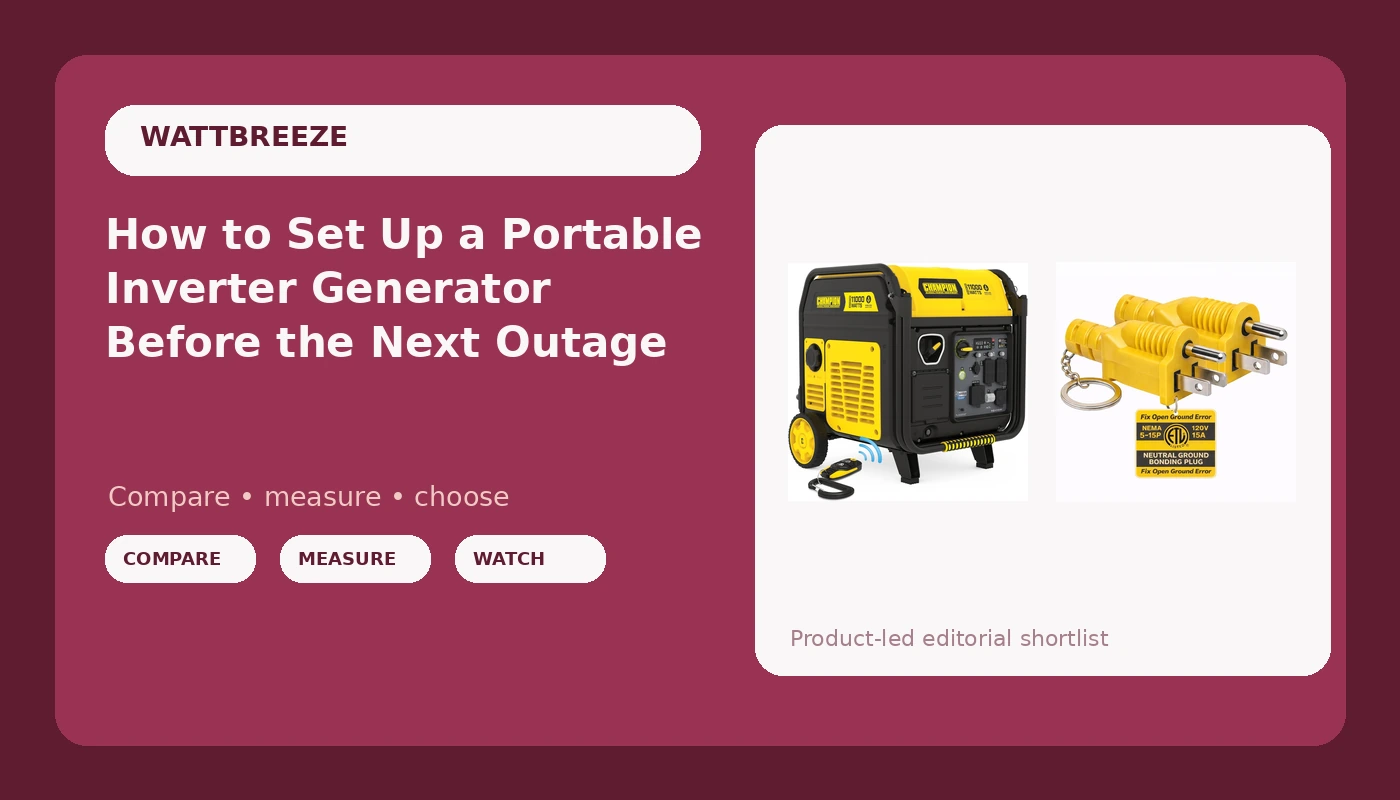
Most people buy a generator, park it in the garage, and leave it there until the lights go out. Then they find out at 2 a.m. that portable inverter generator setup is not a five-minute job you learn in the dark. It is a short list of decisions you make once, in daylight, with a flashlight in your pocket and a fuel jug you already stabilized.
The setup I run for a house backup is two pieces of gear. A Champion 11,000-Watt Wireless Remote Start Portable Inverter Generator does the work. A two-pack of neutral ground bonding plugs makes that power behave itself when it hits an RV pedestal, a GFCI circuit, or a transfer switch that was wired to expect a bond. One of those two items makes electricity. The other one keeps you from chasing a breaker you cannot see.
Here is the order I do it in, and the parts most people skip.
Why you should trust me
I ran a small-engine repair shop in Asheville for 22 years. The work got quieter and the storms got louder, and after Hurricane Helene took the grid down for nine days, I watched a normally polite street turn on itself over a 50-foot extension cord. When the lights came back, I bought a load bank, a decibel meter, and a paper logbook, and started testing generators the way I used to rebuild carburetors: take it apart, measure everything, and never trust the sticker.
That was over 40 generators ago. Every run is logged by hand, in pen, with the date and the outside temperature written at the top of the page.
The rule I work by is simple. Spec watts are measured at sea level with a gentle breeze. Real watts are what your fridge surge demands at 7 a.m. on day three, when the ice maker has cycled twice and the sump pump is deciding whether to kick on.
How I picked the gear and how I test
The two products below are the ones this workflow is built around, and they were chosen the same way I choose everything: what does it actually deliver, and what does it cost me when it fails at the worst possible moment.
My testing routine does not change. Everything goes on the load bank, which is heaters and motors that draw real watts instead of theoretical ones. Noise gets measured with a decibel meter at 25 feet at quarter load, because that is where your neighbor's bedroom window sits, not one foot from the muffler with nothing plugged in. Fuel gets a stopwatch on the jug at half load, because box run time is quoted at 25% load and nobody runs a house at 25% load. Anything that puts out power for electronics gets checked for total harmonic distortion, and if it is not under 5%, it does not get recommended for a house with laptops and a TV in it.
I do not repeat a run-time claim I have not timed myself, and I do not repeat a noise claim that has no decibel number attached to it. If a box says "whisper quiet" and there is no dB(A) at 25 feet printed anywhere, that is marketing, not a measurement.
The gear this setup is built around
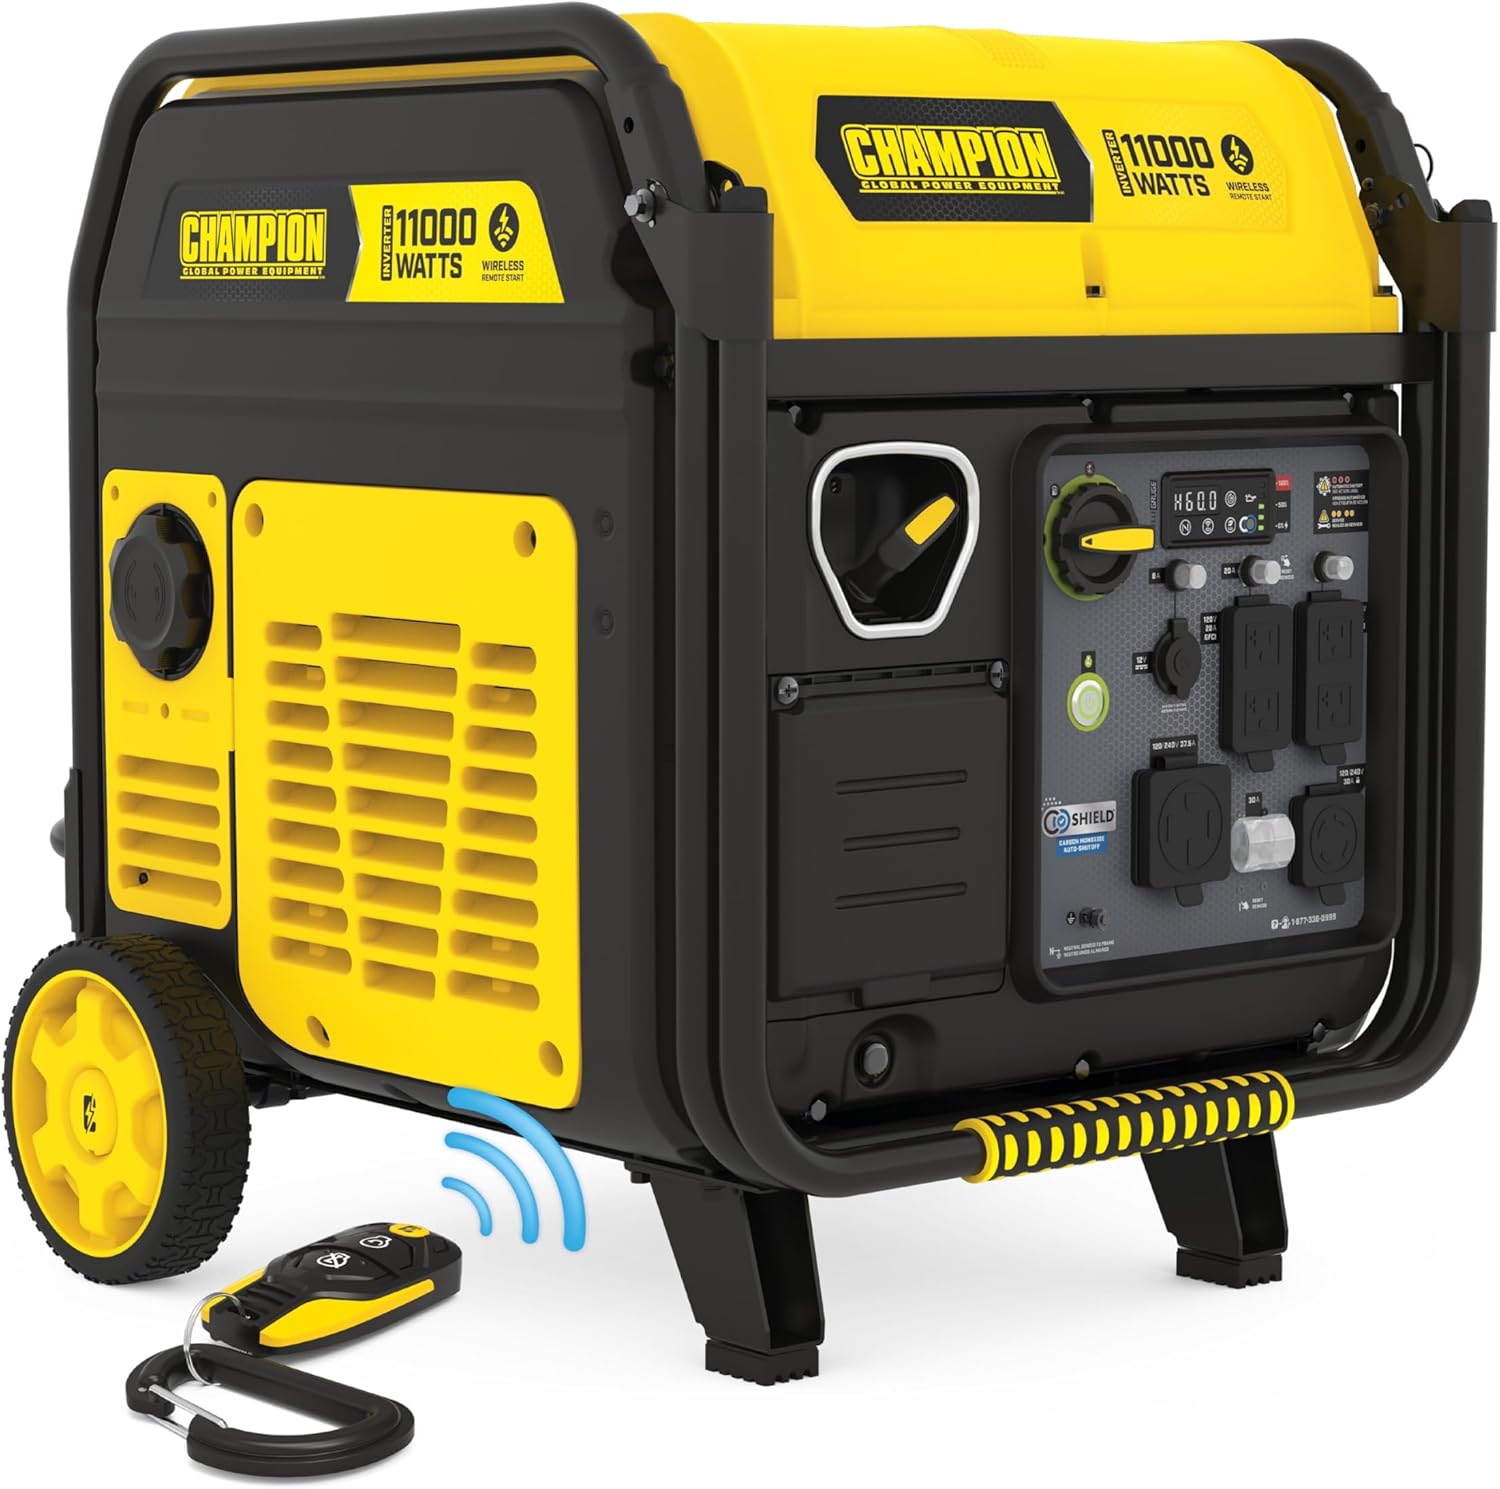
The power source: Champion 11,000-Watt Wireless Remote Start Portable Inverter Generator
 Visit on Amazon →
This is the class of machine you buy when you want one generator to carry a real house load instead of a few extension cords. It is an inverter, which is the part that matters most to me, because inverter output is what keeps a fridge compressor, a furnace board, and a phone charger from whining at each other. It also has wireless remote start, and I will defend that feature against every purist who says it is a gimmick.
Remote start is not a gimmick. It is the difference between standing under a tarp in freezing rain pulling a rope that has been sitting since October, and pressing a button from inside the doorway while you watch the panel. A generator that needs a YouTube tutorial to start will fail at 2 a.m. in a storm. Pull cords do not buffer.
What you should know before you buy into this size: an 11,000-watt class inverter is heavy, and it is thirsty at full load. Plan the pad, the ramp, and the fuel before the storm, not during it. Wheels that wobble and handles that dig into your palm at 80 pounds are real complaints in this category, so move it once and leave it where you intend to run it.
Flaws but not dealbreakers: It ships without oil, and the sticker will tell you to see the manual. Read the manual. Fill to the mark, do not overfill, and check it after the first few hours of run time. Also budget for fuel storage, because a machine this size at half load will drink through a tank faster than the box number suggests.
Anyone backing up a whole-house panel through a transfer switch, or running a big RV and a house circuit at the same time, is in the right size class here.
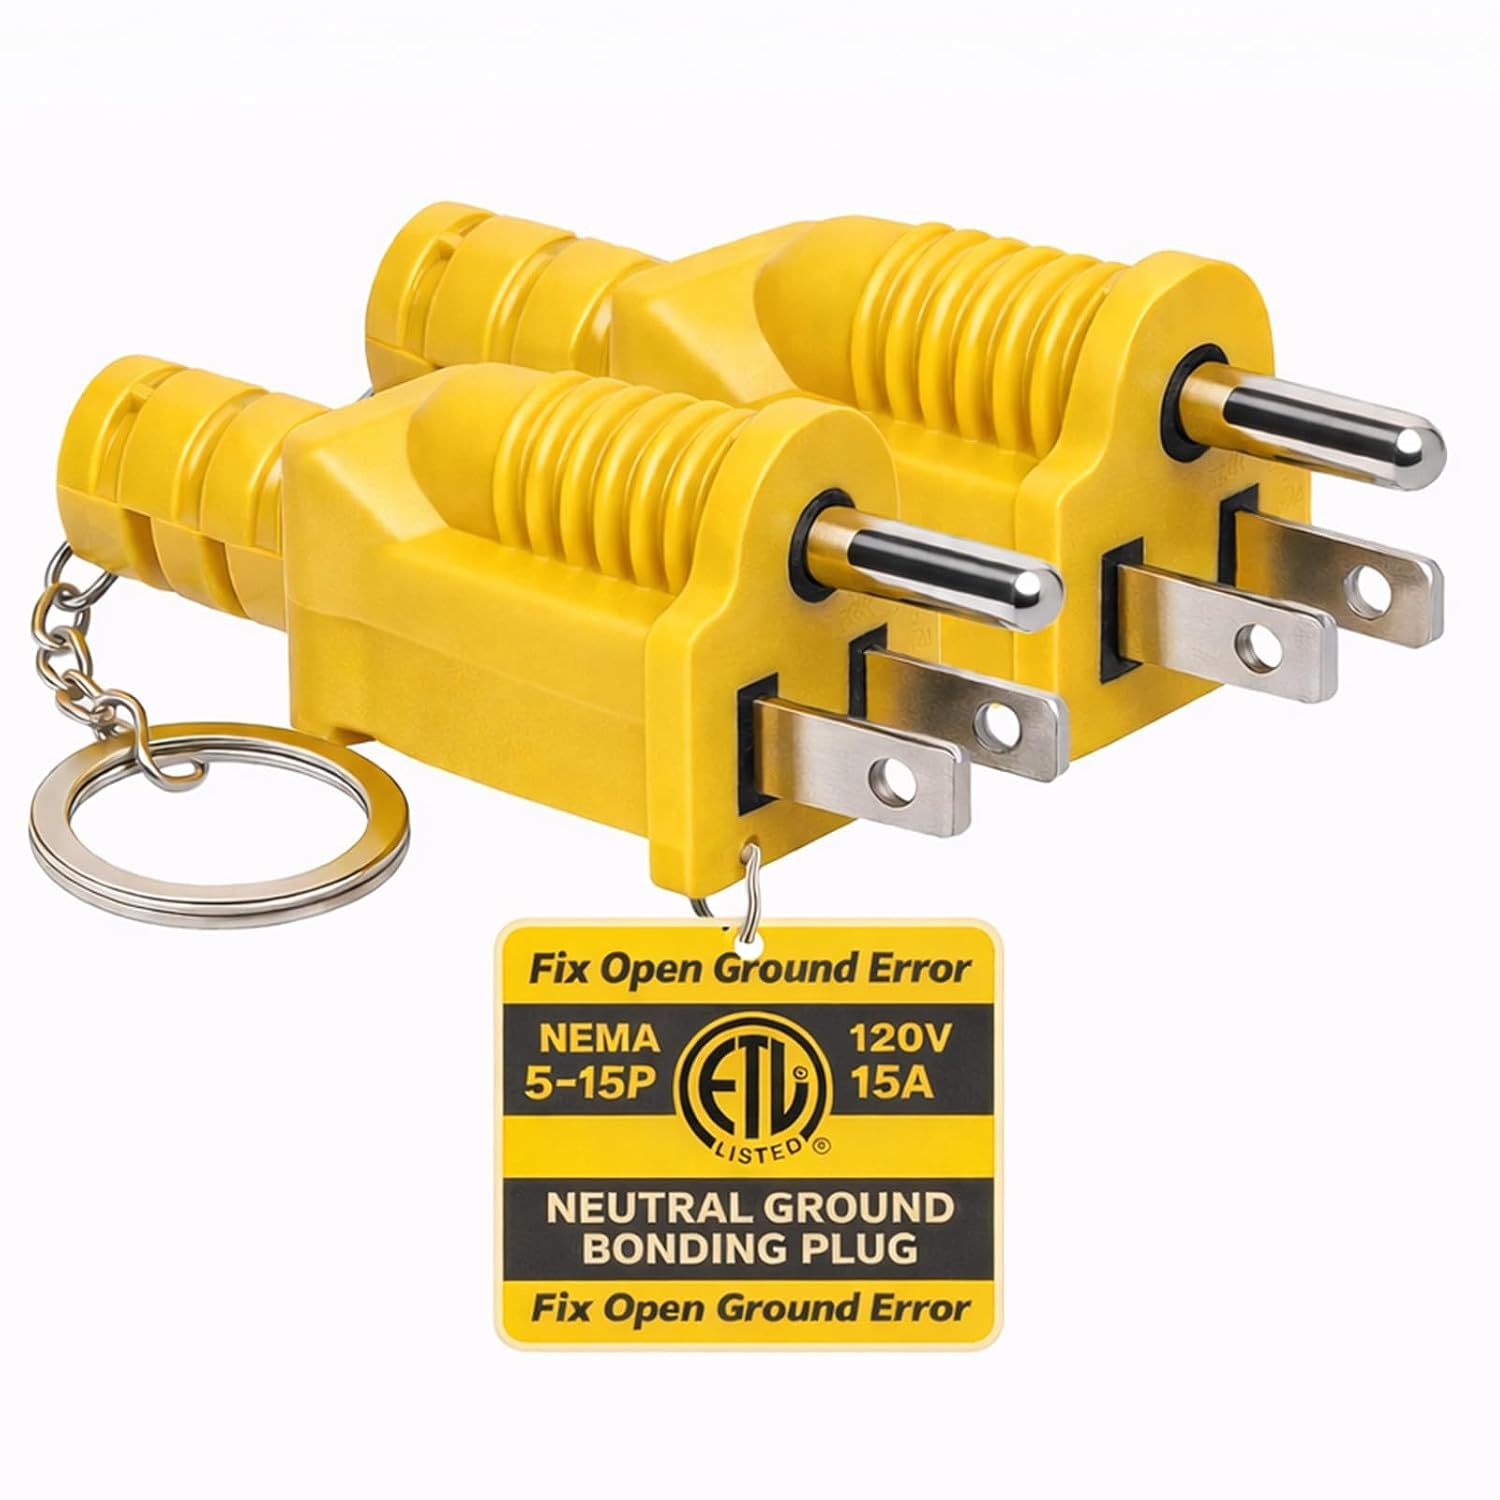
The small part that decides whether it works: Neutral Ground Bonding Plug for Floating Neutral Generator, 2 Pack
 Visit on Amazon →
This is the cheapest part of the whole setup and the one that causes the most confusion. Here is the plain version.
Some inverter generators are built with a floating neutral, meaning the neutral and the ground are not tied together inside the unit. That is normal, and for a lot of uses it is fine. But some of the equipment you plug in expects a bonded neutral. An RV surge protector or energy management system will often refuse to pass power, or throw a fault code, because it reads an open ground. A GFCI receptacle can trip for the same reason. Some transfer switch setups care too.
A bonding plug goes into one of the generator's 120-volt outlets and ties neutral to ground right there at the machine. That is it. It is a small molded plug doing a very specific electrical job, and the two-pack means one lives in the generator bag and one lives in the RV drawer, which is exactly where you want them when you are standing in a campground at dusk.
One warning, and I mean this: bond at the generator only when your setup calls for it. If your house panel already has a neutral-to-ground bond and you are feeding it through a transfer switch, you can create a second bond, and that is a problem for an electrician to solve, not a forum thread. Read your generator manual, read your transfer switch instructions, and when in doubt, make the phone call.
Flaws but not dealbreakers: It is a passive part, so there is nothing to fail until the plastic cracks, and there is no indicator light to tell you it is seated. Push it in firmly and check it before the storm, not during.
Anyone running an inverter generator into an RV pedestal, a job site GFCI, or a transfer switch should have a pair in the bag whether or not they need them today.
The setup, step by step
Step one: pick the spot before you need it. Outside, in open air, exhaust pointed away from every window, door, vent, and intake. Never in a garage or a breezeway, not even with the door up. Carbon monoxide is the reason CO sensors are required on new units, and it is the reason I will not recommend a generator that runs near a house without one.
Step two: find out whether your neutral floats. Before the storm, open the manual and write one line in your logbook: floating or bonded. Then write down what you are feeding, whether that is an RV pedestal, a transfer switch, or a cord to the fridge. That single line tells you whether the bonding plug goes in the bag or in the outlet.
Step three: oil and fuel. These units ship dry. Fill the oil to the mark, check it after the first run, and use ethanol-free fuel for anything that will sit more than a month. Ethanol left in a carb is a time bomb, and stabilizer is cheaper than a carburetor rebuild. Fill the tank the day before the storm, not the hour after the power dies.
Step four: ground the frame. Follow the manual and your local code. If the manual calls for a ground rod, drive the rod.
Step five: start it with nothing plugged in. Remote start means you can be at the panel when it lights off. Let it warm up and settle for a couple of minutes before it sees a load.
Step six: add loads one at a time, biggest surge first. A fridge, a well pump, a furnace blower, and a sump pump all spike on startup. Surge watts are usually two to three times running watts, and that spike is what decides whether your fridge actually turns on. Add one motor load, let the engine recover, then add the next. If your unit has an eco mode throttle, turn it off for motor loads, because eco can be too slow to react to a surge and the engine will bog or stall.
Step seven: do the fuel math before you need it. Box run time is quoted at 25% load. At half load, cut it by a third. At full load, cut it in half. Write the real number on the lid of the fuel can. Never refuel a hot, running generator, and never refuel inside a garage.
Step eight: shut down in reverse. Kill the loads, let the unit cool, shut the fuel valve, and let the carb run dry if it is going to sit. Change the oil on schedule. Drain or stabilize the fuel.
Mistakes I see every storm
Running it in the garage "just for a minute." Undersized extension cords on a big motor load. Backfeeding a dryer outlet instead of using a transfer switch or an interlock kit, which is how people electrocute linemen. Leaving E10 in the carb from October to July. Forgetting the bonding plug and then blaming the generator when the RV pedestal will not pass power. Buying the biggest unit on the shelf and never planning where the fuel comes from on day four.
Every one of those is a setup problem, not a generator problem. That is the whole point of doing this in daylight.
What this all costs
The two products here are the visible spend. The invisible spend is everything around them: fuel you rotate, oil you change, stabilizer you add, a transfer switch installed by a licensed electrician, and a ground rod if your manual calls for one.
The cost-per-day math on a generator is not the interesting math. The interesting math is what a nine-day outage costs you in spoiled food, a flooded basement, and a hotel room, which is usually more than the whole setup. Do the fuel math, keep the logbook, and test the machine once a season under a real load. A generator you have never loaded is a generator you do not actually own yet.
That is the job. Set it up once, in the daylight, and let it sit there being boring until you need it.