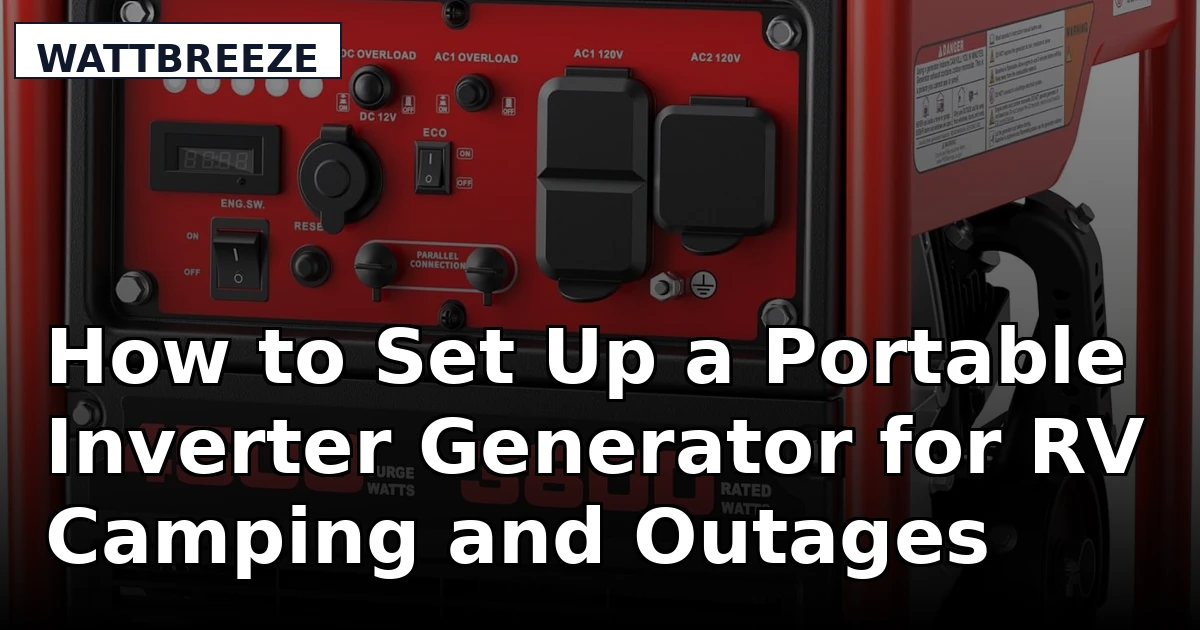
A portable inverter generator setup is three decisions stacked on top of each other: what your loads actually draw, where the unit sits when it runs, and what you do with the fuel when the outage ends. Get those right and a 3,000-watt class unit will carry a camper fridge, a laptop, and a sump pump through a long week. Get them wrong and you are the guy on my street with a 50-foot cord strung across the sidewalk, yelling at a neighbor about who gets to charge a phone first.
I watched that happen after Helene took our grid down for nine days. Polite people, two days in, arguing over an extension cord. That is the part the spec sheet never tells you.
So here is the workflow I use. It starts before you buy anything and it ends with a fuel jug and a logbook, not a phone app.
Why you should trust me
I ran a small engine repair shop in Asheville for 22 years. Carburetors, fuel systems, recoil assemblies, the whole lot. When the work got quieter, the storms got louder, and after that nine-day outage I bought a load bank, a decibel meter, and a paper logbook and started testing generators the way I used to rebuild carbs: take it apart, measure everything, and never trust the sticker.
That is over 40 generators logged since, every run written down by hand, every noise reading taken at 25 feet at quarter load because that is where people actually live with these machines. I still own the $350 budget unit I tell most people to think twice about, and yes, I forgot to winterize a generator last spring. Nobody is perfect.
My rules are boring on purpose. No unit gets recommended without a real load test and a dB reading. No run-time claim gets repeated without my own timer, my own fuel jug, and my own math. No inverter gets a clean-power badge without a THD reading under 5%. Free review units get disclosed. Units I bought with my own money get marked as such. The watt meter does not care what the box says, and neither do I.
How I picked and how I tested
This guide is built around two units, and they exist for two different jobs. One is a quiet, compact inverter for RV dry camping, tailgating, and running the small stuff during a short outage. The other is a bigger open-frame inverter with a CO alert and a 30A RV outlet, which is what you want when the load is a trailer air conditioner or a well pump instead of a phone charger.
The bench standard I hold any unit to looks like this. First, running watts versus surge watts. Running watts are the continuous load a generator carries hour after hour, and that is the number that matters on day six of an outage. Surge watts are the startup spike a motor needs, usually two to three times its running draw. A fridge that pulls 150 running watts can demand 450 to 600 for a second or two when the compressor kicks. A unit that meets the running number but not the surge number will trip its overload every single time the compressor cycles, and you will blame the generator when the problem is the math.
Second, THD, total harmonic distortion. Under 5% means laptops, televisions, and phone chargers are happy. Inverter generators deliver that. Cheap conventional units generally do not.
Third, noise. Not the "one foot, no load" number printed on the box. I take my readings at 25 feet at quarter load, because that is how far your neighbor's bedroom window is.
Fourth, run time. The spec sheet measures it at 25% load. At half load, cut it by a third. At full load, cut it in half. Plan your fuel around the real number, not the brochure number.
I have not strapped a load bank to every unit sold in America, and I am not going to pretend otherwise. What I can tell you is how these two classes of machine behave under a fridge, a sump pump, and a space heater, and which one belongs in your truck bed.
The two generators this guide is built around
Both of these are inverter units, which means clean power and a quieter exhaust note than a conventional open-frame generator of the same wattage. The difference between them is the load they were built to carry and how portable you need the thing to be.
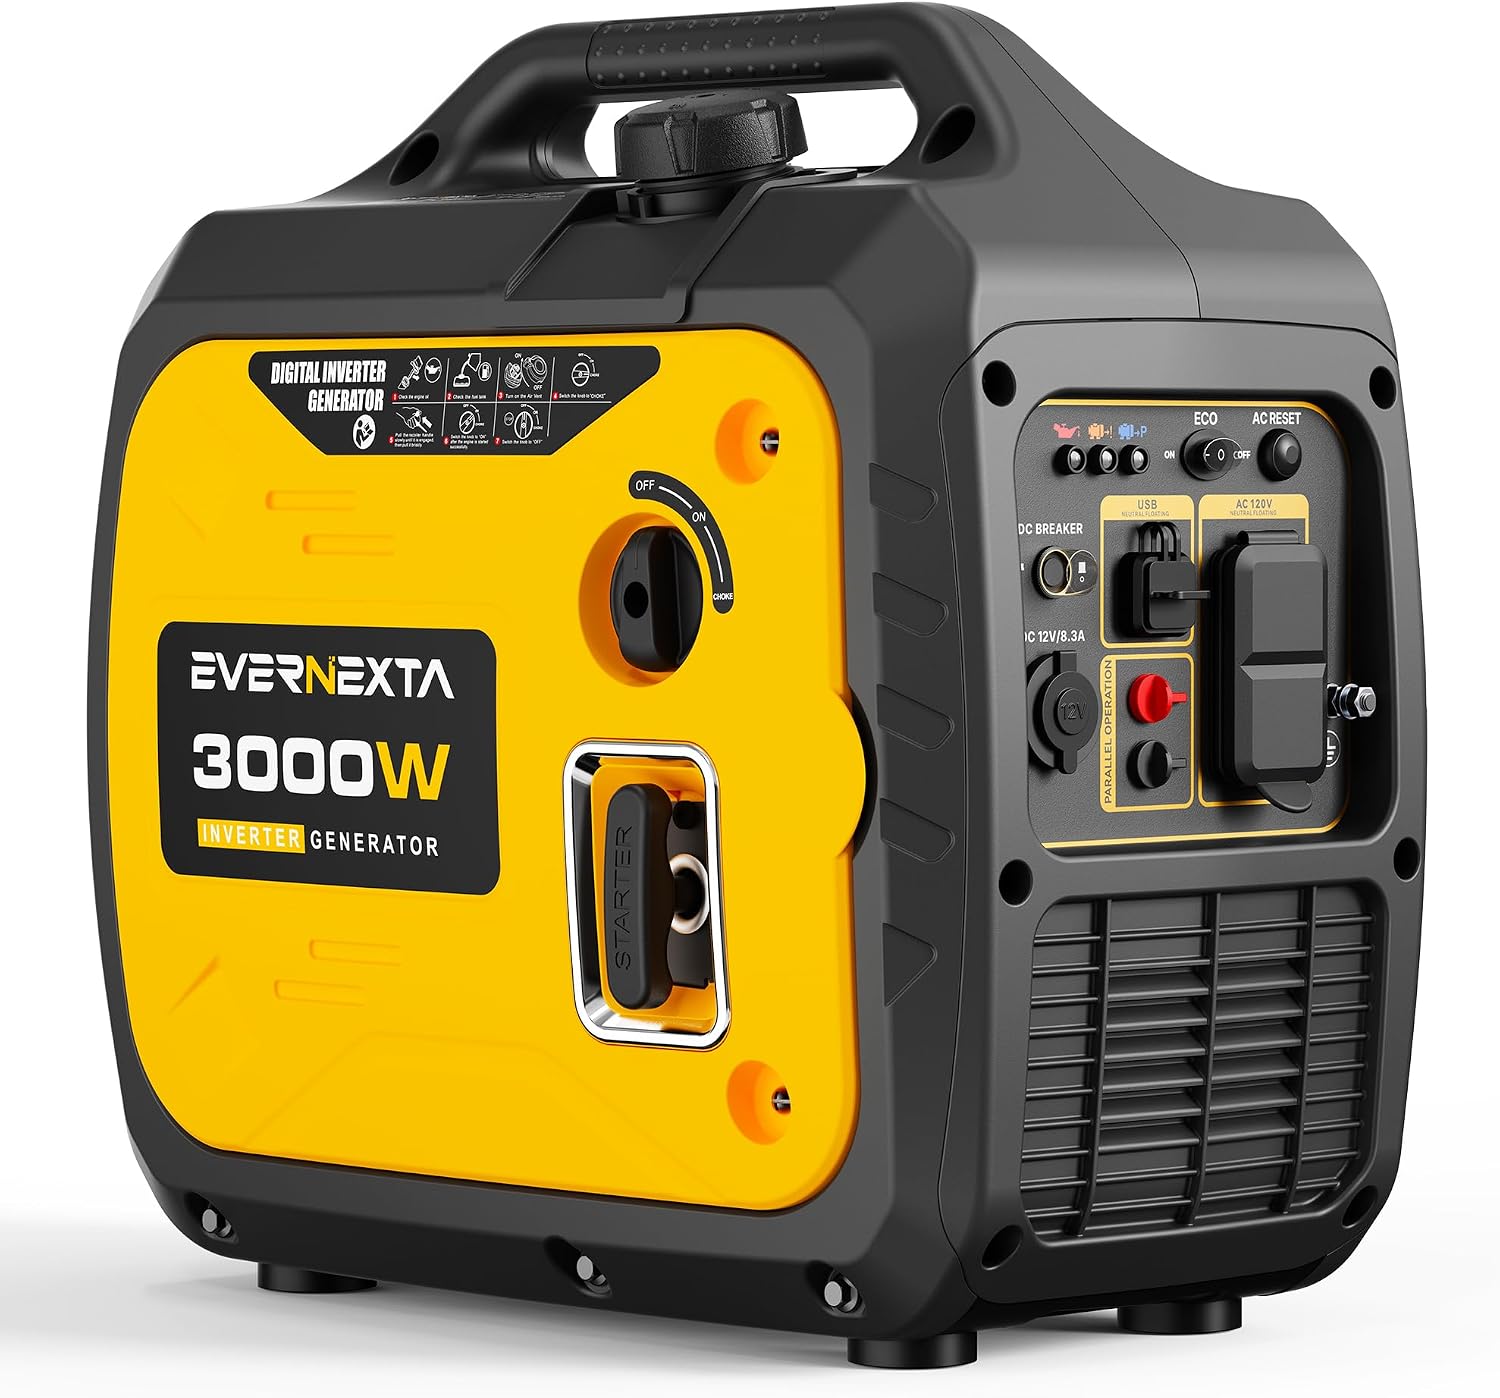
The quiet pick: 3000W Inverter Generator, Ultra Quiet Portable Gas Generator RV
 Visit on Amazon →
This is the class I point RVers and tailgaters toward first. A 3,000-watt inverter is small enough to lift into a truck bed without a second person and a chiropractor, and it is built for the load profile of a camper: a fridge, a few lights, a laptop, a coffee maker, a phone or three on chargers. In eco mode it throttles down when nothing is drawing, which saves fuel and keeps the noise down at 2 a.m. in a campground where quiet hours are not a suggestion.
The catch with any unit in this class is the surge headroom. If your trailer air conditioner is a big one, or you want to run a microwave and a coffee maker at the same time, you are going to find the ceiling fast. That is not a defect. It is a 3,000-watt machine doing 3,000-watt work.
Flaws but not dealbreakers: Eco mode can be too slow to react to a fridge's compressor surge on some units. Test it in your driveway with the fridge plugged in and eco mode on. If the overload light blinks, turn eco mode off for the outage and accept the extra fuel burn.
Anyone who camps, tailgates, or wants a light, quiet backup for the fridge and the router should start here.
The bigger-load pick: AMERISUN 4500W Open Frame Gas Inverter Generator, CO Alert, 30A RV Outlet
 Visit on Amazon →
This is the one for people whose loads are bigger and whose backs are stronger. Open frame means it is louder and heavier than a suitcase inverter, and it also means more surge headroom, which is the whole point. That 30A RV outlet is the detail I care about most. You can plug a trailer directly into it with a standard RV cord instead of stacking adapters, and adapters are where people lose voltage and patience.
The CO alert matters more than any other feature on this machine. Carbon monoxide shutoff is non-negotiable on any generator that runs near a house, and it is required on new units for a reason. Treat it as a backup, not as permission to run the thing in a garage. It is a safety net, not a plan.
Flaws but not dealbreakers: Open frame units are not campground quiet. If you are in a site with a strict noise rule, this is not the machine for that trip. It is the machine for a driveway, a job site, a tailgate lot, or a rural property where the nearest neighbor is a quarter mile out.
Anyone who needs to carry a bigger air conditioner, a well pump, or a whole trailer through a real outage should look here first.
The actual setup workflow
Now the part you came for. This works whether you bought a 3,000-watt suitcase or a 4,500-watt open frame.
Step one: Do the watt math before you buy. Walk the house or the trailer and write down every load you want running at once. Then find the motor loads, because those are the ones that bite. Fridge, freezer, well pump, furnace blower, air conditioner, sump pump. Each one surges at roughly two to three times its running draw for a second or two. Add the running watts, then find the single biggest surge and add that on top. If the total is under your unit's running watts and the surge fits under its surge rating, you are fine.
Step two: Break it in properly. Read the manual for the break-in interval and change the oil when it says to. Factory oil comes out gray with metal fines, and that is normal on a new engine. Do not run the unit at full load during break-in. Half load for the first few hours is plenty.
Step three: Fuel it right. Ethanol-free fuel is the only fuel I will let sit in a carburetor for more than a month. E10 turns into varnish, varnish clogs a jet, and a clogged jet turns into a service bill. If ethanol-free is not available near you, use stabilizer and run the carb dry before storage. Stabilizer is cheaper than a carburetor rebuild, every time.
Step four: Place it like your life depends on it. Twenty feet from the house, minimum. Exhaust pointed away from doors, windows, and vents. Never in a garage, never on a porch, never under a deck, and never under a tarp that traps exhaust. If it is raining, use a purpose-built generator tent or a roof overhang with plenty of airflow. Water in the outlets is a problem. Carbon monoxide in the bedroom is a bigger one.
Step five: Sort out grounding. Some inverters have a floating neutral, some are bonded. The manual tells you which, and the manual is right. If it calls for a ground rod, drive one. Do not guess, and do not take advice from a forum thread about a different unit.
Step six: Use the right cords. Twelve-gauge extension cords for anything pulling 20 amps, and keep the runs as short as you can. Voltage drop is real, and a long skinny cord is how people cook a compressor. One heavy cord per heavy load beats a daisy chain of adapters.
Step seven: Sequence your loads. Start the biggest motor first, alone, and let it settle before you add anything else. Then bring the rest on one at a time. This is the single easiest way to avoid nuisance overload trips, and it costs nothing.
Step eight: Watch eco mode with motors. Eco mode drops engine RPM to match the load, which saves fuel and noise. On some units it cannot spool up fast enough for a fridge's compressor surge. Test it. If the overload trips, run in normal mode during the outage.
Step nine: Never defeat the CO sensor. I have seen people tape over a CO shutoff because it kept tripping. That is the sensor telling you the exhaust is going somewhere it should not. Move the generator, do not disable the safety.
Step ten: Maintain it on a schedule. Oil changes at the manual's interval, air filter cleaned, spark plug checked, fuel drained or stabilized before storage. Ten minutes of maintenance in October saves a generator in January.
Where people get it wrong
The biggest one is buying on peak watts. Peak watts in big print, running watts in the fine print. Read the running number, because that is the load the machine carries for nine days straight.
The second is expecting a 3,000-watt unit to run a whole house. It will not, and no amount of parallel cables turns it into a 12,000-watt standby. Size for the loads you actually need: fridge, freezer, a few lights, the router, phone chargers, and a fan. That is a survivable outage. The air conditioner is a luxury you plan for separately.
The third is leaving fuel in the tank for six months. Ethanol fuel left in a carb is a time bomb. Drain it or run it dry.
The fourth is altitude. A generator that runs clean at sea level runs rich at 5,000 feet, and rich means sooty plugs and lost power. If you camp high, follow the manual's altitude guidance and rejet if it calls for it.
The fifth is the pull cord. A generator that needs a YouTube tutorial to start will fail at 2 a.m. in a storm. Practice a cold start in the rain, in the dark, before you need it. Pull cords do not buffer.
The competition and why it lost
A conventional open-frame generator is cheaper per watt, and if your only job is running a circular saw at a job site, that is the right tool. It is also louder and it does not deliver the clean power an inverter does. For anything with a circuit board in it, and for anything running where people sleep, the inverter premium is worth paying.
Dual-fuel models are tempting and they solve a real problem, which is gasoline going stale. If you already have propane for a grill or a trailer, a dual-fuel unit is a legitimate choice. If you do not, you are buying a fuel system you will never use.
Big standby units are a different category and a different budget. They are excellent, they are permanently installed, and they are not what this article is about.
The premium 2,000-watt class is still the benchmark for quiet, and you pay for every decibel you do not hear. It is a real premium, not a miracle. The two units in this guide sit where most people actually land: enough watts for a real load, without paying for a name.
What this all costs
The math that matters is not the sticker. It is the cost per day across the years you own the thing, and the cost of the one outage where it keeps your fridge cold and your sump pump running.
A quiet 3,000-watt inverter covers camping, tailgating, and a light home backup. A 4,500-watt open-frame inverter with a CO alert and a 30A RV outlet covers bigger loads and plugs straight into a trailer. Whichever you pick, budget for the accessories that make it work: a 12-gauge cord, a generator tent, a fuel jug, stabilizer, oil, and a spare spark plug. Those add up to less than one service call.
Then buy a five-dollar notebook. Log every run: date, load, hours, fuel added, oil changes. Two years from now that logbook will tell you more about your generator than any review on the internet, including mine.
That is the job. Do the watt math, fuel it right, park it 20 feet out, and let it run.